by
Understanding the intricacies of your Ford vehicle’s vacuum system is crucial for optimal performance and longevity. Vacuum diagrams provide a visual representation of the vacuum lines and components, aiding both novices and seasoned mechanics in diagnosing issues and performing repairs. This article will guide you through the process of reading and interpreting vacuum diagrams, ensuring that you can work safely and effectively on your Ford.
Understanding Vacuum Systems in Ford Vehicles
Vacuum systems in vehicles, especially in older models, play a vital role in various functions, including the operation of the power brakes, HVAC controls, and emissions systems. In Ford vehicles, vacuum lines are typically made of rubber or plastic and connect to different components that rely on vacuum pressure to function correctly.
Common components that utilize vacuum include:
- Brake Booster: Enhances braking performance by using engine vacuum to reduce the amount of force needed to apply the brakes.
- EGR Valve: The Exhaust Gas Recirculation valve helps reduce emissions by recirculating a portion of the exhaust back into the intake manifold.
- HVAC Controls: Vacuum actuators control the blend doors in the heating and air conditioning system.
Reading Vacuum Diagrams
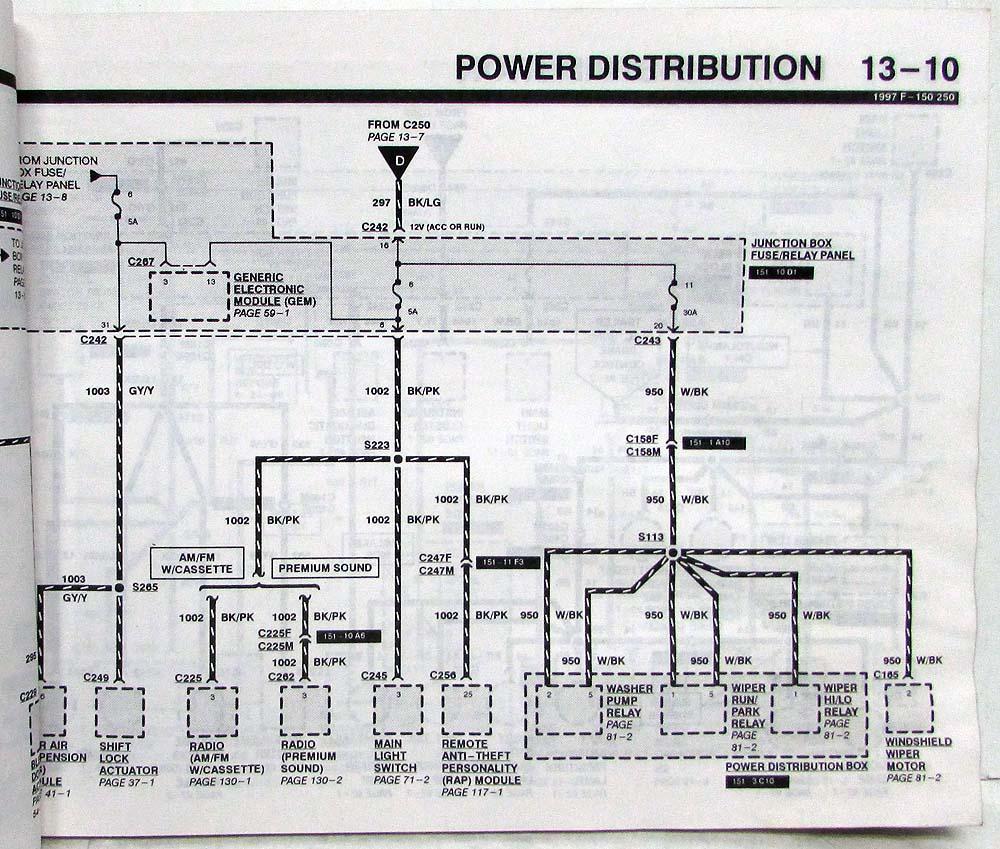
When approaching a vacuum diagram for your Ford, it’s essential to understand the symbols and lines depicted. Each line represents a vacuum hose, and the various symbols indicate components that the hoses connect to.
Typically, vacuum diagrams will include:
- Solid Lines: Represent vacuum hoses that are under constant vacuum pressure.
- Dashed Lines: Indicate hoses that may not always have vacuum pressure, often activated under certain conditions.
- Symbols: Each component will have a specific symbol. Familiarize yourself with these symbols as they are specific to the manufacturer.
Steps for Safe Installation and Wiring
Before starting any work on your vehicle’s vacuum system, safety must be your top priority. Always remember to disconnect the battery to prevent any electrical mishaps. Here’s a step-by-step guide to safely installing or replacing vacuum lines:
- Disconnect the Battery: Always start by disconnecting the negative terminal to prevent any electrical accidents.
- Locate Your Vacuum Diagram: Use your vehicle’s service manual or an online resource to find the correct vacuum diagram for your Ford model.
- Inspect Existing Hoses: Before removing old hoses, inspect them for any cracks, leaks, or blockages.
- Remove Old Hoses: Carefully remove the old hoses, noting their routing and connections. It may help to take pictures for reference.
- Install New Hoses: Using the vacuum diagram as your guide, install new hoses carefully to ensure they match the routing shown.
- Reconnect Components: Reattach any components that were disconnected during the installation.
- Reconnect the Battery: Finally, reconnect the negative battery terminal and perform a test.
Troubleshooting Common Vacuum Issues
Even with proper installation, vacuum systems can experience issues. Here are some common problems and their troubleshooting steps:
- Loss of Power Braking: If the brake pedal feels stiff, check for vacuum leaks in the brake booster line or ensure the brake booster is functioning properly.
- Check Engine Light: This can often relate to issues with the EGR valve. Inspect the vacuum line connected to the EGR valve for leaks or disconnections.
- HVAC Problems: If your heating or cooling system is not working correctly, check the vacuum lines running to the HVAC controls. A disconnection can cause the blend doors not to operate correctly.
Safety Precautions to Consider
Working on a vehicle’s vacuum system can pose risks if proper precautions are not taken. Here are some safety tips to keep in mind:
- Always Disconnect the Battery: This prevents any electrical shock or short circuits.
- Wear Protective Gear: Use gloves and safety glasses to protect from dirt and debris.
- Work in a Well-Ventilated Area: Ensure that your workspace is well-ventilated, especially if working on components that may emit fumes.
- Have a Fire Extinguisher Handy: It’s always better to be prepared in case of an emergency.
By understanding how to read and interpret vacuum diagrams for your Ford, you can effectively diagnose and repair issues, leading to a higher-performing vehicle. Always prioritize safety and be thorough in your inspections and installations. If you’re ever in doubt about a repair, consulting a professional mechanic is always a wise choice.