by
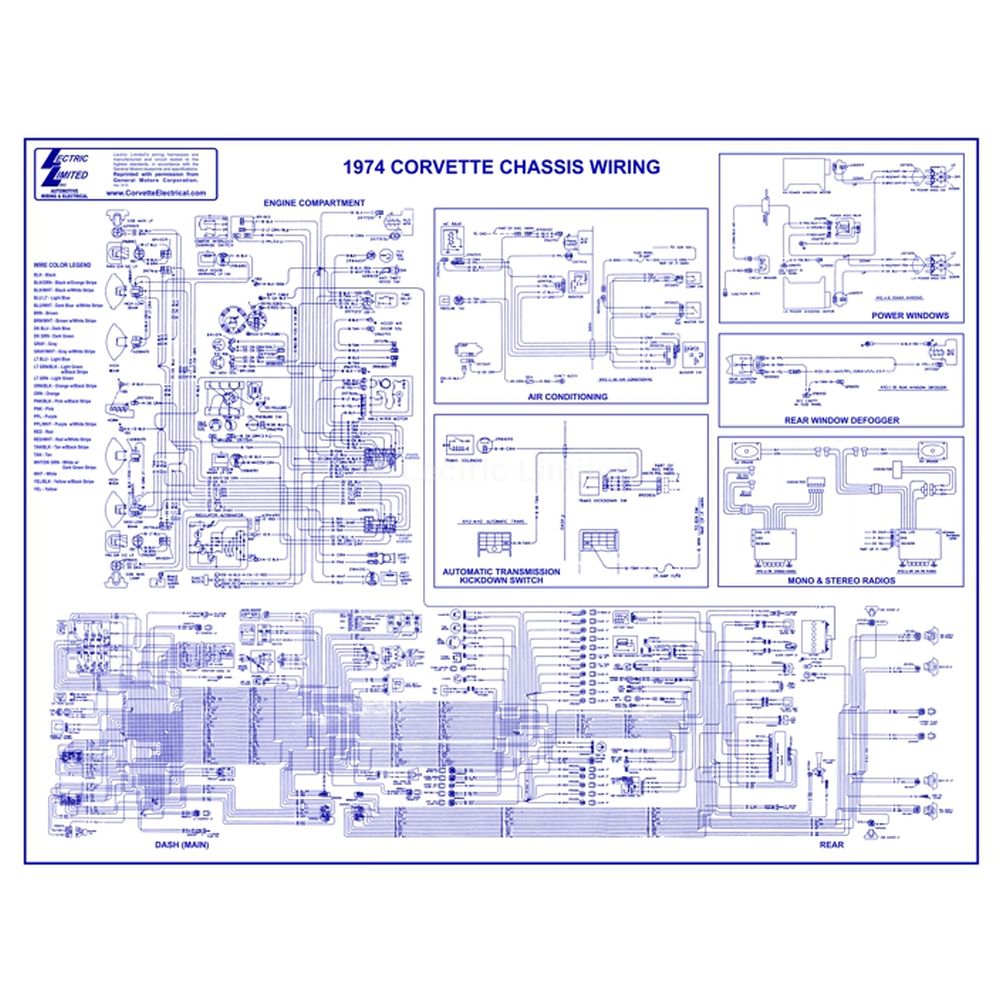
Upgrading the ignition system of your 1974 Corvette is a significant step towards enhancing performance and reliability. Over the years, factory ignition systems can degrade, leading to inefficiencies and increased maintenance. A well-functioning ignition system is crucial for optimal engine performance, fuel efficiency, and overall vehicle reliability. In this guide, we will explore the wiring modifications necessary for your 1974 Corvette ignition, providing you with comprehensive insights and a clear wiring diagram to assist in your upgrade process.
Understanding the Ignition System
The ignition system in your 1974 Corvette comprises several critical components including the ignition switch, coil, distributor, and spark plugs. Each component works together to ignite the air-fuel mixture in the engine cylinders, allowing your Corvette to run smoothly. Understanding the function of each part is essential for effective upgrades.
- Ignition Switch: This is the control switch for the entire ignition system. It sends power to the ignition coil when you turn the key.
- Ignition Coil: This component transforms the battery’s low voltage into the high voltage needed to create a spark at the spark plugs.
- Distributor: It directs the high voltage from the ignition coil to the appropriate spark plug at the correct timing.
- Spark Plugs: These components ignite the air-fuel mixture in the engine’s cylinders, allowing combustion to occur.
Wiring Modifications Explained
When upgrading your ignition wiring, you will typically focus on ensuring that the connections are solid, the wiring is properly insulated, and the components are compatible with each other. Below are the steps you should follow for safe and effective wiring modifications.
Step-by-Step Wiring Modifications
1. **Safety First:** Always disconnect the battery before starting any wiring modifications. This step is crucial to prevent electrical shocks and short circuits.
2. **Gather Your Tools:** You will need wire cutters, crimping tools, electrical tape, and a wiring diagram specific to your 1974 Corvette.
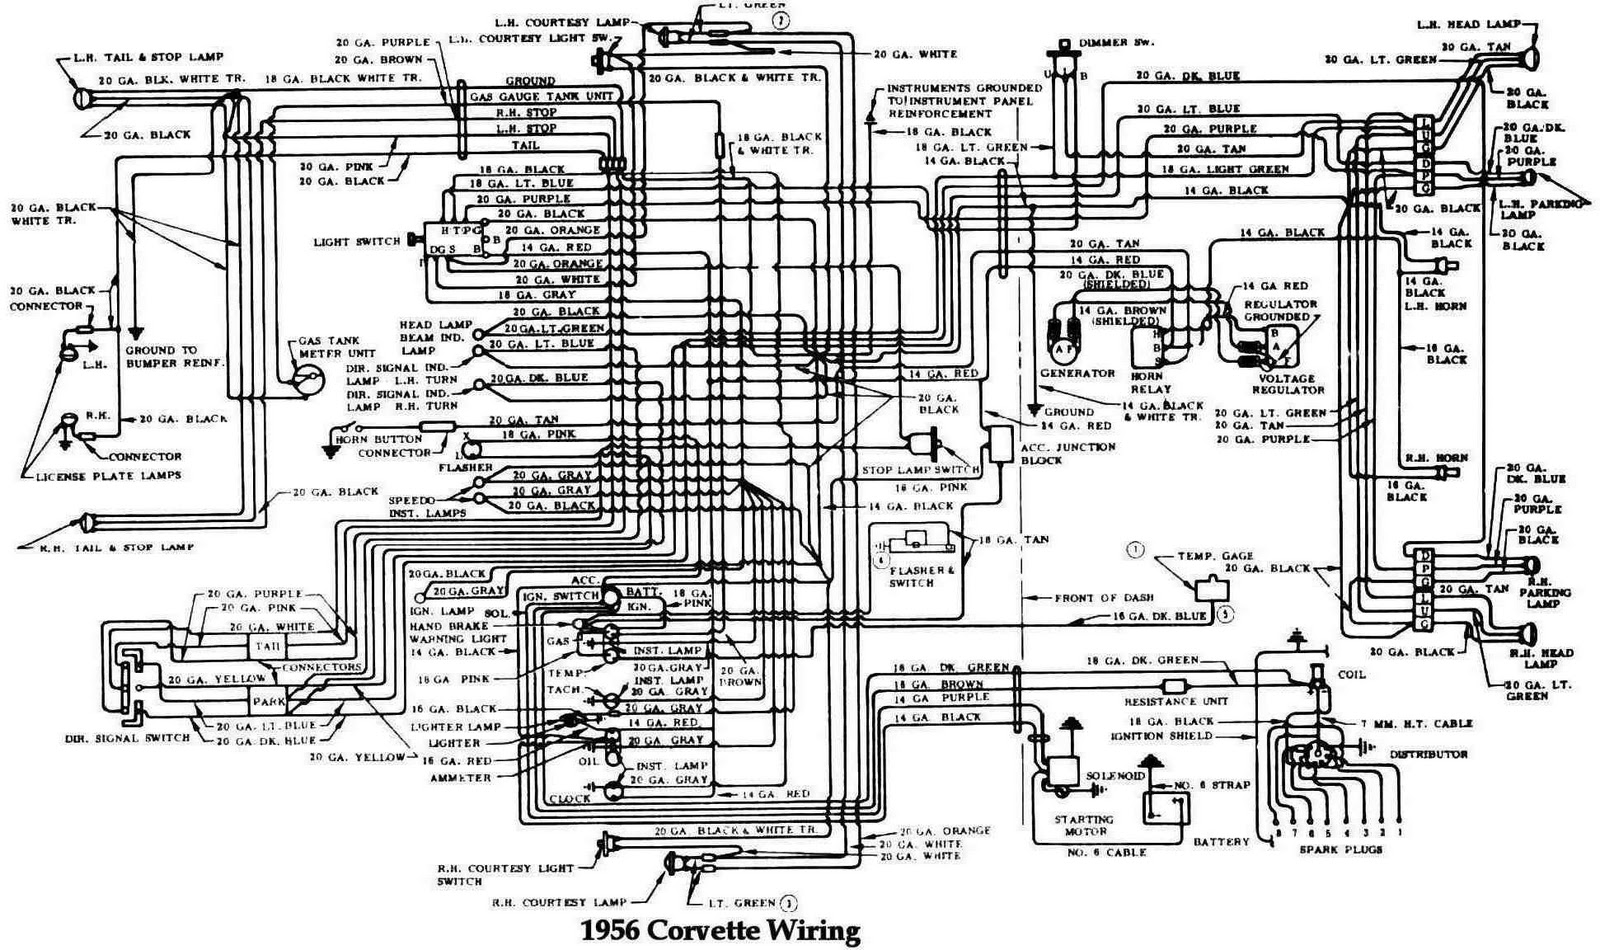
3. **Review the Wiring Diagram:** Familiarize yourself with the 1974 Corvette ignition wiring diagram. This diagram will show you how the components are interconnected.
4. **Inspect Existing Wiring:** Check the current wiring for any signs of wear, corrosion, or damage. Replace any damaged wires with new ones that match the appropriate gauge.
5. **Connect the Ignition Switch:** Start by connecting the ignition switch to the battery positive terminal. Ensure that the connections are tight and secure.
6. **Attach the Ignition Coil:** Connect the ignition coil to the ignition switch. The primary wire should be connected to the positive terminal of the coil, while the negative terminal should connect to the distributor.
7. **Wiring the Distributor:** Connect the distributor to the ignition coil. Make sure the wiring is neat and securely fastened to prevent any vibrations from loosening the connections.
8. **Connect Spark Plugs:** Finally, attach the spark plug wires to the respective terminals on the distributor. Ensure that the wires are routed away from any moving parts to avoid wear.
Testing Your Modifications

Once you have completed the wiring modifications, it is essential to test the ignition system before reassembling any components of your Corvette. Reconnect the battery, and turn the ignition key. You should hear a clicking sound from the ignition coil, indicating that it is functioning correctly.
If you encounter any issues such as the engine not starting or misfiring, refer to the following troubleshooting tips:
- Check all connections to ensure they are secure and free from corrosion.
- Verify the battery charge; low voltage can cause ignition issues.
- Inspect the spark plugs for fouling or wear, and replace them if necessary.
- Ensure that the ignition coil is functioning properly, as a faulty coil can lead to poor performance.
Common Issues and Troubleshooting Tips

During the ignition upgrade process, you may encounter several common issues. Here are some troubleshooting tips to help you resolve them:
– **No Spark:** If you’re not getting a spark from the ignition coil, check the connections at the coil and distributor. Ensure that the coil is receiving power from the ignition switch.
– **Intermittent Starting:** If your Corvette starts sometimes but not others, this could be a sign of a faulty ignition switch or poor wiring connections. Inspect all connections for tightness.
– **Engine Misfires:** A misfiring engine can often be traced back to faulty spark plugs or incorrect timing. Make sure the timing is set according to factory specifications.
Safety Precautions
As with any electrical work, safety is paramount. Here are some important safety precautions to keep in mind:
- Always disconnect the battery before beginning any modifications.
- Use insulated tools to minimize the risk of electrical shock.
- Wear safety glasses to protect your eyes from any potential sparks or debris.
- Work in a well-ventilated area to avoid inhaling any fumes from electrical components.
In conclusion, upgrading the ignition wiring of your 1974 Corvette can significantly improve its performance and reliability. By following the outlined steps and adhering to safety protocols, you can ensure that your upgrade process is safe and effective. Whether you are a seasoned mechanic or a DIY enthusiast, understanding the wiring modifications for your ignition system is an invaluable skill that can enhance your driving experience.